


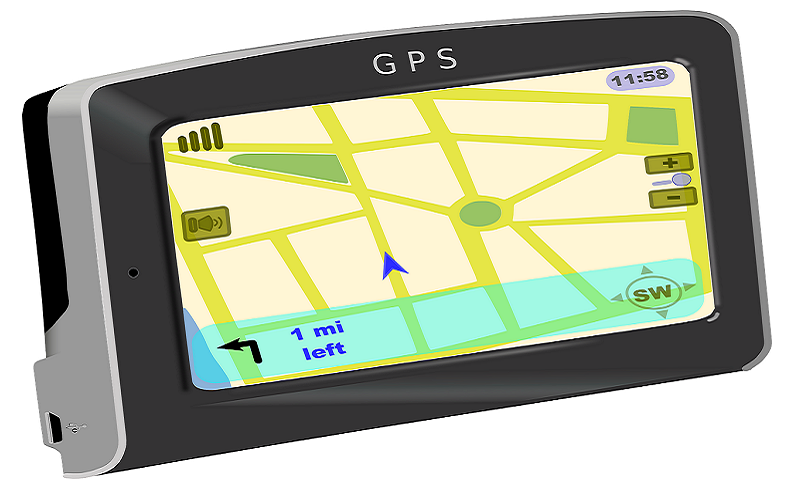
FindItMore | GPS Exchange Format (GPX) File helps track routes and sharing map information between applications and web devices on the Internet. All the Garmin devices recognize GPX file format, and you can use them by importing them to your GPS device as Points of Interests (POIs) to track places, such as restaurants, gas stations, and shopping malls.
In this article, we will discuss about how to use GPX files on Garmin devices, and how to integrate it into your Garmin Zumo device.
Step 1
Make a new folder on your computer, and give a name to that, such as “GPX Files.” Take all your GPX files into the new folder.
Step 2
Now, download POI Loader from the newest Garmin GPS Updates, and click on the “Download” link, select the “File” and choose an appropriate location on your computer to save it.
Step 3
Get your POI Loader installed by double-clicking on the downloaded file and connect your Garmin device to PC using a USB cable. Next, open POI Loader and choose “Next” and “Save Options” in the dialog box, and again, click on “Next.”
Step 4
Select “Find Device” button, and then wait for POI Loader to recognize your connected GPS device. Now select “Next,” choose “Install new custom POI’s on your device” and then click “Next.”
Step 5
Now, locate the GPX file folder by clicking on the “Browse” button, and then select the GPX folder, click on “Next,” and select “Finish” and start your Garmin device.
Step 6
Start using your GPX files by selecting “Where to?” on your GPS device, and choose “Extras,” by clicking on “Custom POIs” and finally, select the file name of your GPX file.
Using GPX Files on your Garmin Device
Now, it’s time to start using your GPX. The following steps applies to all the Garmin devices, but are more suitable for Garmin watches. First, you can start tracking activity such as running, hiking, cycling, and all other outdoor activities.
When you start doing the activity, press the menu button on your Garmin Device, and scroll down to choose GPX courses as appear in the list. Finally, press Select to get the bunch of information.
It’s possible to check the complete route and elevation. For that, simply hit on the “Do Course” to start following the route by keeping the arrow over the mapped line.
You’ll then receive a file in the .gpx format for your Garmin device that might be from the Garmin map update products or another source. The delivered file can be managed on your Garmin device, and you can also save it to your device memory card or directly onto the Garmin GPS.
Make sure you use a Garmin device instead of directly copying the GPX file to your device as it requires a particular space/location and format for the ease of management.
Examples of GPX File Use
So why would you want GPX files? It’s needed in many cases, especially on the latest models of the Garmin Zumo 595LM, including maps to track every location you might need during travel.
You can get data files for day-to-day tracking or while moving over known or unknown highways and roads. It’s best to use in integrating different waypoints onto a map prior to a trip.
The above steps help you set up GPX files on Garmin GPS easily, however, if you encounter any technical problem you should seek immediate tech assistance. Whether you are facing activation issues or have any other type of issues with your Garmin GPS service, you can resolve all the issues in no time with the help of customer service Garmin support. Just contact the experienced and skilled tech professionals and resolve all your technical glitches in no time. You can contact the tech professionals anytime be it day or night.